In the world of computing, the central processing unit (CPU) is the brain of your computer. It is responsible for executing instructions, performing calculations, and managing the overall functionality of your system. However, like any other component, CPUs can fail, leaving your computer in a state of virtual paralysis. In this comprehensive guide, we will explore the signs, causes, and steps to determine if your CPU is dead. By the end of this article, you will have the knowledge and tools necessary to confidently diagnose and understand the reasons behind a failing CPU.
Recognizing the Signs of a Dead CPU
The first step in determining if your CPU is dead is to recognize the signs that indicate a malfunction. While other components or software issues can also cause similar symptoms, it is crucial to run diagnostics to confirm CPU failure. Here are some common signs that your CPU might be dead:
- The Dreaded Blue Screen of Death (BSOD): A recurring BSOD, although it could indicate problems with other components, often points to processor issues.
- Computer Boots but No Display: If your computer turns on, but nothing appears on your screen, it’s a possible indicator of processor failure.
- Random Shutdowns, Freezes, or Reboots: Frequent occurrences of these issues, particularly during resource-intensive tasks, might suggest a problem with the CPU.
- PC Doesn’t Boot: If your PC fails to start up entirely, there’s a chance that your CPU is dead.
- Error Messages Related to the Processor: Error messages referencing your processor or CPU upon booting up could indicate a problem.
- Overheating: If your CPU overheats, it may throttle performance to cool down. Prolonged overheating can lead to permanent damage to the processor.
It is important to note that these signs can also indicate problems with other components or software. Therefore, it is crucial to perform thorough diagnostics to confirm CPU failure.
Causes of CPU Failure
A CPU does not fail without reason. There are several common causes that can lead to the death of a processor. Understanding these causes can help prevent future CPU failures. Here are some of the most common causes:
- Overheating: CPUs generate heat, and without proper cooling, they can overheat and fail.
- Overclocking: Overclocking your CPU to make it run faster than its rated speed can cause it to fail if not done properly.
- Electrical Fluctuations or Power Surges: Sudden electrical spikes can damage the CPU and other computer parts.
- Improper Installation or Physical Damage: Incorrectly installing the CPU or mishandling it can cause physical damage, leading to failure.
- Age: CPUs, like all things, have a lifespan. Over time, their performance can degrade until they eventually fail.
It is important to address these causes to prevent CPU failure. Proper cooling, avoiding overclocking without proper knowledge, using surge protectors, and careful installation can all contribute to prolonging the life of your CPU.
Testing a Suspected Dead CPU
Once you suspect that your CPU may be dead, you can perform a series of tests to confirm its status. This will help you determine if the CPU is indeed the culprit or if there are other underlying issues. Here is a step-by-step guide on how to test a suspected dead CPU:
Pre-Test Checks
Before conducting any tests, it is essential to perform some preliminary checks to eliminate other potential causes of the problem. Here are some pre-test checks you should perform:
- Power Supply: Verify that your power supply is working correctly, as a malfunctioning power supply can mimic a dead CPU.
- Monitor and Cables: Check that your monitor and its cables are working properly. A faulty display can give the impression of a dead processor.
- RAM: Ensure that your RAM is correctly seated and not causing any issues. Incorrectly seated or failing RAM can prevent your computer from booting, mimicking processor failure.
- Motherboard: Check for any signs of a faulty motherboard, as it can display symptoms similar to a dead CPU.
Once you have performed these pre-test checks and ruled out any other potential causes, you can proceed with testing the CPU itself.
CPU Test
To test a suspected dead CPU, you will need a compatible, working CPU for comparison. Follow these steps to perform the CPU test:
- Safety First: Disconnect your computer from the power source and ground yourself to prevent electrostatic discharge.
- Open the Case: Remove the side panel of your computer to access the motherboard.
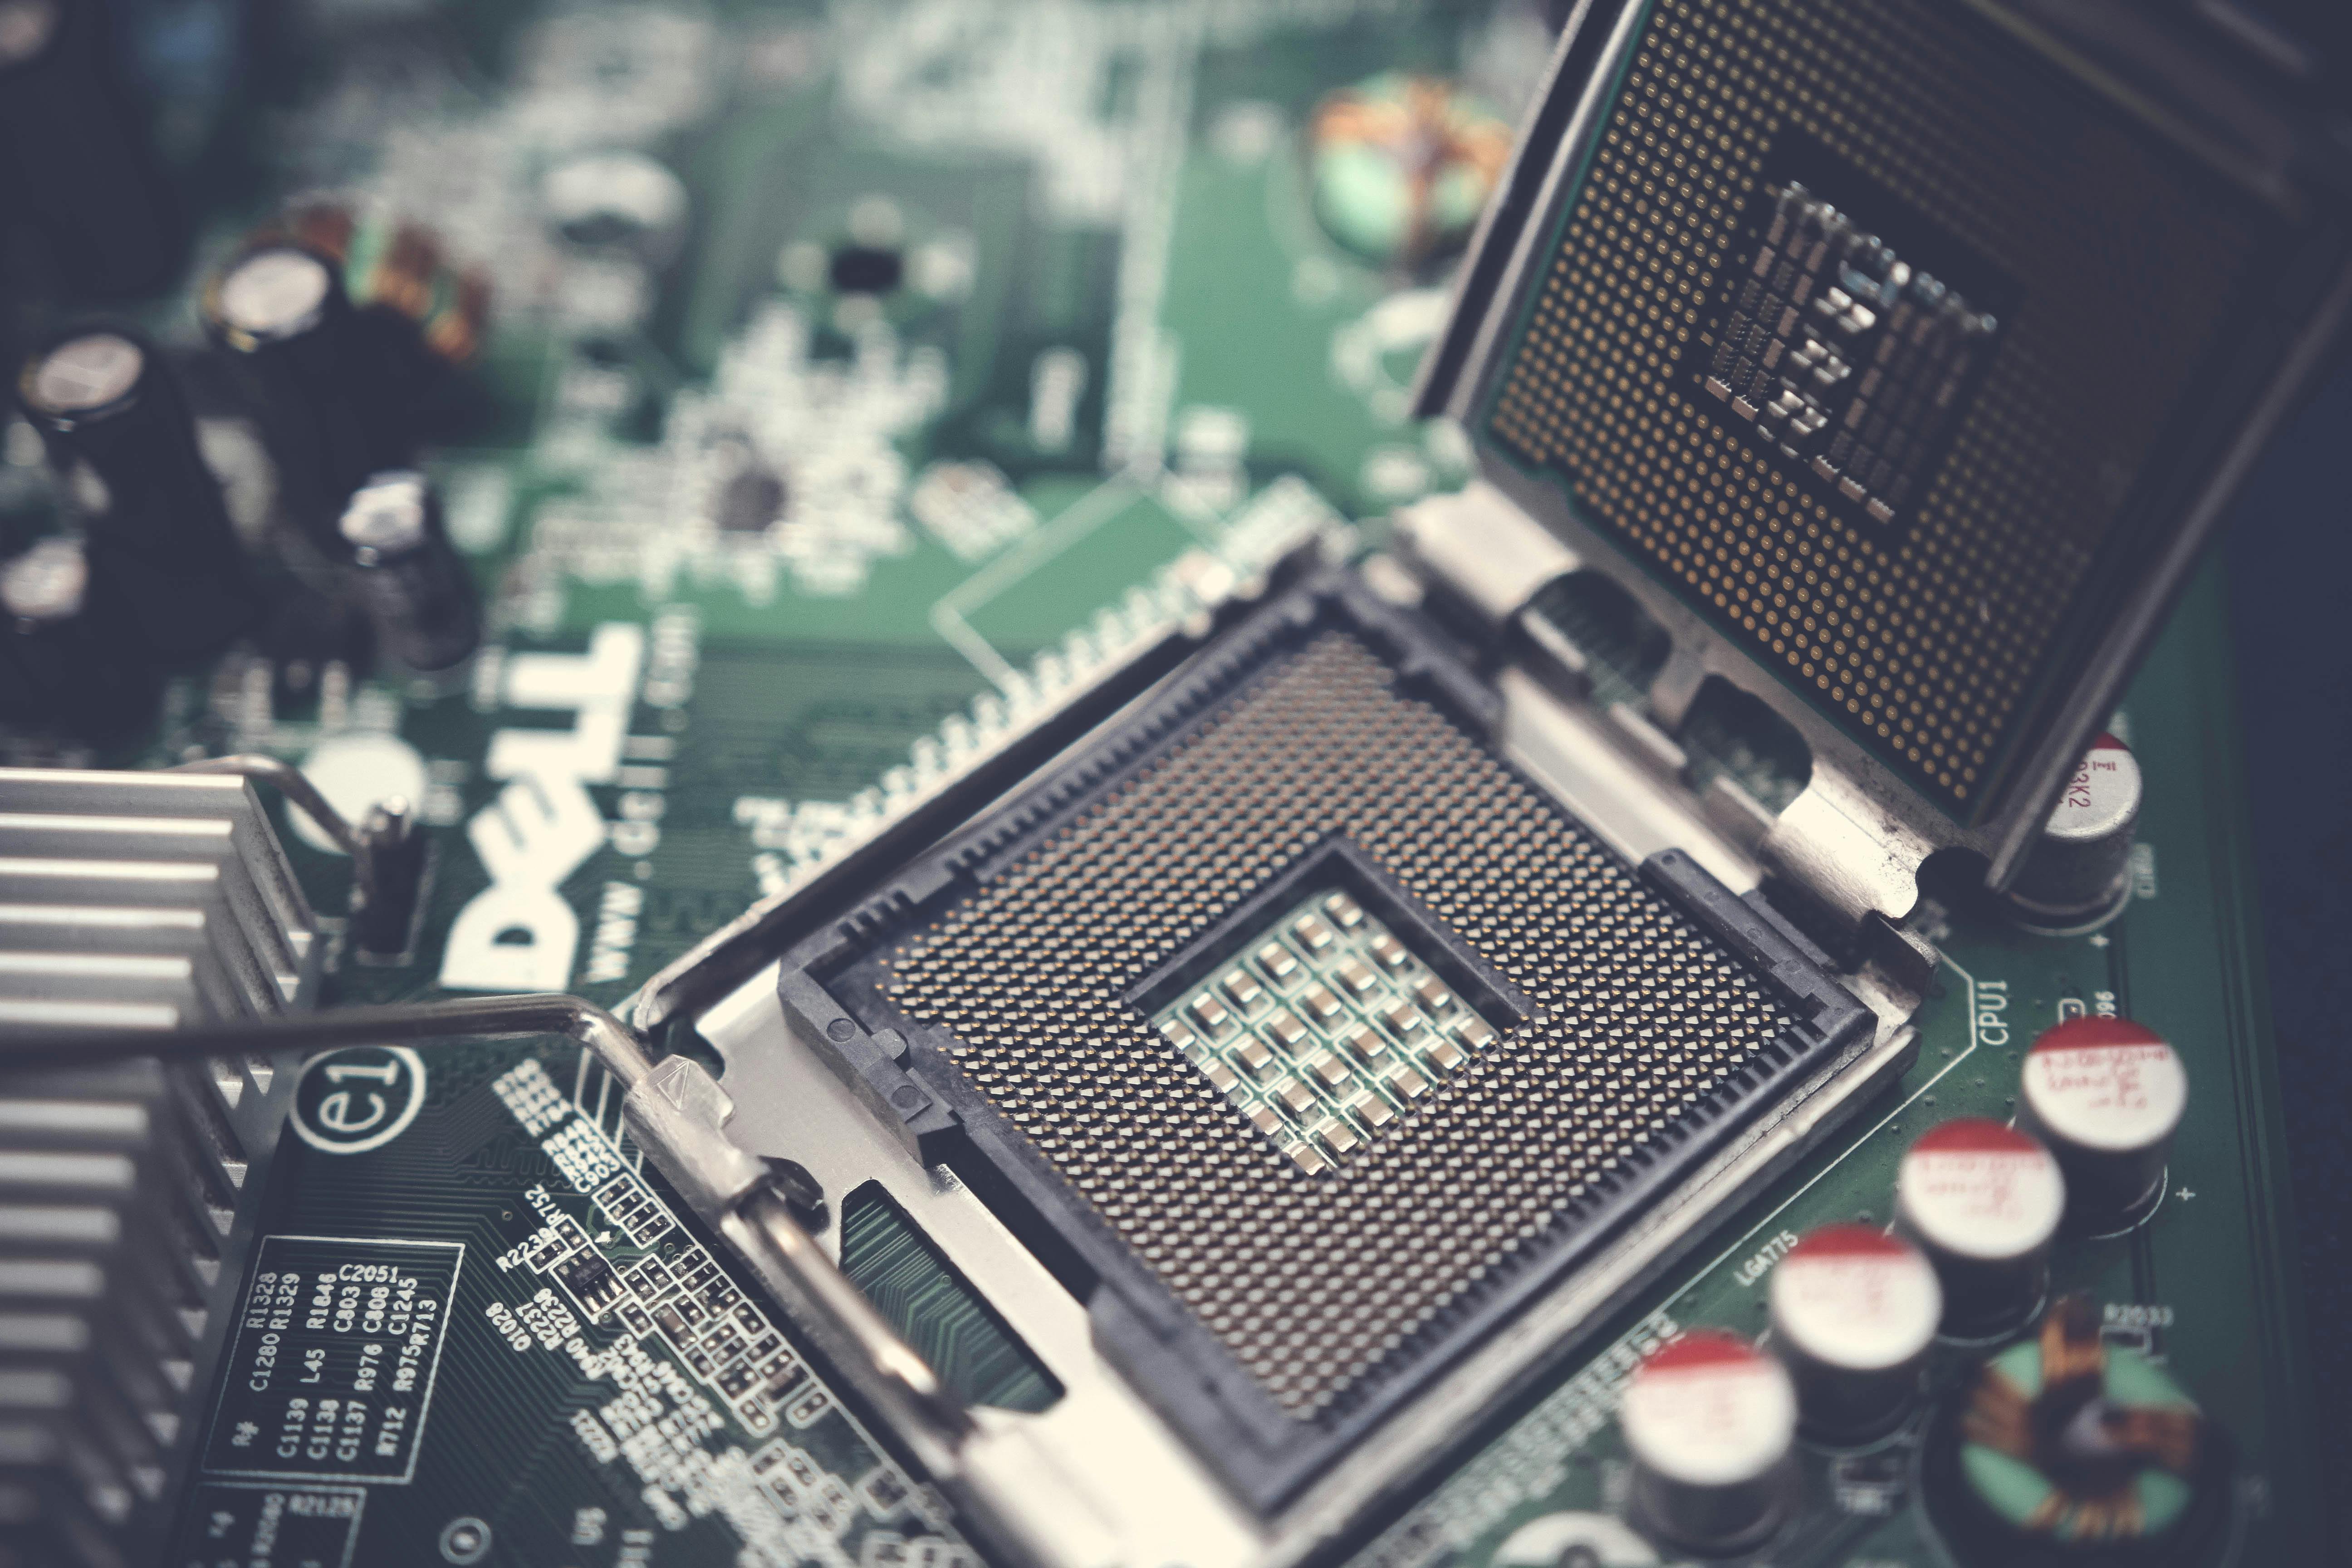
- Remove the Current Processor: Carefully remove the existing CPU. Unlock the socket and be gentle to avoid damaging any pins.
- Install the Working Processor: Place the known working processor into the socket and lock it in place.
- Power Up: Reconnect the power and turn on the computer. If the computer boots up properly with the new processor, it is likely that your original CPU was dead.
Remember that the installation process may vary depending on the type of CPU and motherboard you have. Always refer to the manuals for specific instructions.
If the CPU test confirms that your original CPU is dead, you will need to replace it. When choosing a new CPU, consider factors such as compatibility with your motherboard, your performance needs, budget, and cooling system requirements. It is also a good time to ensure that your computer’s cooling system is adequate to prevent future overheating issues.
Tips to Prevent CPU Failure
Prevention is always better than cure, especially when it comes to CPU failure. Here are some tips to help you keep your CPU healthy and prolong its lifespan:
- Cooling: Ensure that your computer’s cooling system is adequate. This includes fans, heatsinks, and, for high-performance systems, liquid cooling systems.
- Cleaning: Regularly clean your computer’s interior to remove dust that can clog up fans and vents, causing your system to overheat. Use compressed air to clean hard-to-reach areas.
- Surge Protection: Use a surge protector to guard against damaging power spikes that can harm your CPU and other components.
- Considerate Overclocking: If you choose to overclock your CPU, ensure that you do it safely and monitor temperatures and stability closely.
- Careful Installation: When installing your CPU or any other components, follow the manuals and handle the components with care to avoid physical damage.
By following these tips, you can help extend the life of your CPU and keep your computer running smoothly.
Understanding Processor Lifespan and Performance Degradation
While CPUs are generally built to last, they can experience degradation over time. Factors such as overheating, overclocking, voltage fluctuations, and silicon degradation can all contribute to the gradual deterioration of a CPU’s performance. Overclocking and overvolting, if not done properly, can put undue stress on the CPU and lead to premature failure. Additionally, silicon degradation can occur naturally over time, resulting in reduced performance and eventual failure. While this degradation typically occurs over a longer timescale than the useful lifespan of a CPU, it is worth considering, especially for those planning to extend the life of their PC with upgrades.
Further CPU Troubleshooting
While this guide provides an overview of CPU troubleshooting, it is important to note that CPU issues can sometimes be intricate and require knowledge of computer hardware. For example, random reboots or freezes can be caused by a variety of factors, not just CPU problems. Software issues, faulty RAM, graphics card problems, and power supply issues can all contribute to these symptoms. In such cases, a process of elimination may be necessary, testing each component to identify the root cause.
If you are not confident in handling computer hardware or troubleshooting complex issues, consider seeking help from a professional computer repair shop. These experts have the necessary knowledge, equipment, and spare parts to diagnose and fix hardware issues in your computer.
Warranties and Processor Alternatives
Most processors come with warranties ranging from one to three years, with some extending up to five years. If your CPU fails within the warranty period, you can contact the manufacturer for a replacement. However, it is essential to understand the terms of your warranty, as certain practices like overclocking may void it.
If you need to replace your CPU, there are various alternatives available in the market. While Intel and AMD are the most well-known manufacturers, other brands like ARM are gaining ground, particularly in the mobile and energy-efficient sectors. When choosing a new processor, consider factors such as compatibility with your motherboard, performance needs, power consumption, integrated graphics capabilities, and overall compatibility with your system.
Wrapping Up
Diagnosing a dead CPU can be a challenging task, but with the information and steps provided in this comprehensive guide, you can approach the issue confidently. If your processor is indeed dead, it is not the end of the world. CPU replacement is a common practice, and with careful consideration, you can find a new unit that fits your needs and keeps your computer running smoothly.
Remember, the key to a long-lasting processor is proper care and maintenance. By following the tips and preventive measures outlined in this guide, you can extend the life of your CPU and ensure optimal performance for years to come.


