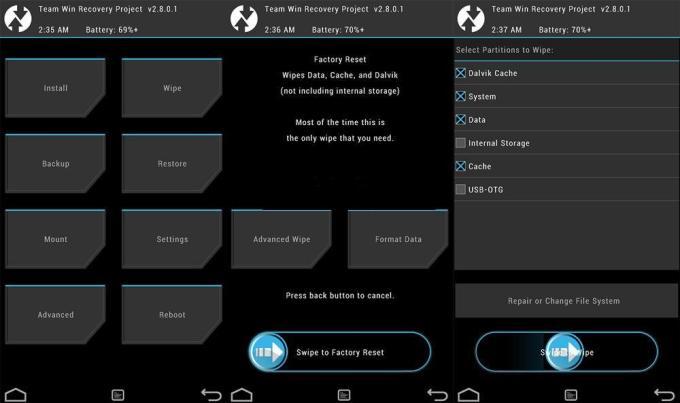
Custom ROMs are all the rage in the Android ecosystem, offering a plethora of features and customizations. Among these, LineageOS has carved out a significant place in the hearts of users, thanks to its balance of stability and features. Yet, there’s one element of LineageOS that not all users are fans of – its recovery system. Many prefer the feature-rich TWRP (Team Win Recovery Project) to LineageOS’s recovery. If you’re in this group, this guide will show you how to replace LineageOS Recovery with TWRP.
Why Replace LineageOS Recovery with TWRP?
While LineageOS Recovery is functional enough for OTA updates and third-party flashing, some users prefer the additional features that TWRP offers. Another major point of contention is the automatic installation of LineageOS Recovery during the custom ROM installation, which happens without explicit user consent. This guide will show you how to replace LineageOS Recovery with TWRP, offering a more feature-rich and user-friendly experience. Prerequisites for Replacing LineageOS with TWRP
Before we start, it’s crucial to prepare your device for the process. Here are the prerequisites: Unlocked Bootloader: If you’re using LineageOS, chances are your device’s bootloader is already unlocked. If not, you’ll need to unlock it first. USB Debugging Enabled: This allows your device to communicate with your PC in ADB (Android Debug Bridge) mode. To enable it, navigate to Settings > About Phone > Tap on Build Number 7 times > Go back to Settings > System > Advanced > Developer Options > Enable USB Debugging. Android SDK Platform Tools Installed: These tools provide the necessary ADB and Fastboot binary files. Download and install them on your PC. Download TWRP Recovery: Download the TWRP Recovery file for your device. You can find the official build on the TWRP website. If it’s not available there, check out the XDA Forums. How to Replace LineageOS Recovery with TWRP: Step-by-Step
Now that we’ve prepared our device, let’s dive into the process of replacing LineageOS Recovery with TWRP. First, move the TWRP IMG file to the platform-tools folder on your computer and rename it to ‘twrp.img’. If your device has a TWRP ZIP file, transfer it to your device’s internal storage. If there isn’t a ZIP file, transfer the TWRP IMG file instead. Troubleshooting Common Issues
If you encounter issues during the process, don’t worry. Here are some common problems and their solutions: Fastboot Boot Command Doesn’t Work: If the command doesn’t boot the recovery, your device may have a standalone recovery partition. In that case, you can flash TWRP to the recovery partition using the command Switching from LineageOS Recovery to TWRP offers a range of benefits, from a user-friendly interface to an extensive set of features. We hope this guide has made the process straightforward and easy to follow. If you encounter any issues or have any questions, feel free to drop a comment below. Happy customizing! Experiencing difficulties with your Device, check out our “How To” page on how to resolve some of these issueStep 1: Place TWRP Files in the Correct Directory
Step 2: Replace LineageOS Recovery with TWRP
adb reboot bootloader
fastboot boot twrp.img
fastboot flash recovery twrp.img.Conclusion


I’m on lineage 19 (OnePlus 7t) and can’t boot to twrp.img. I assume because lineage recovery is Android 12 while twrp is still 11.
Am I stuck on lineage until twrp develops a12?