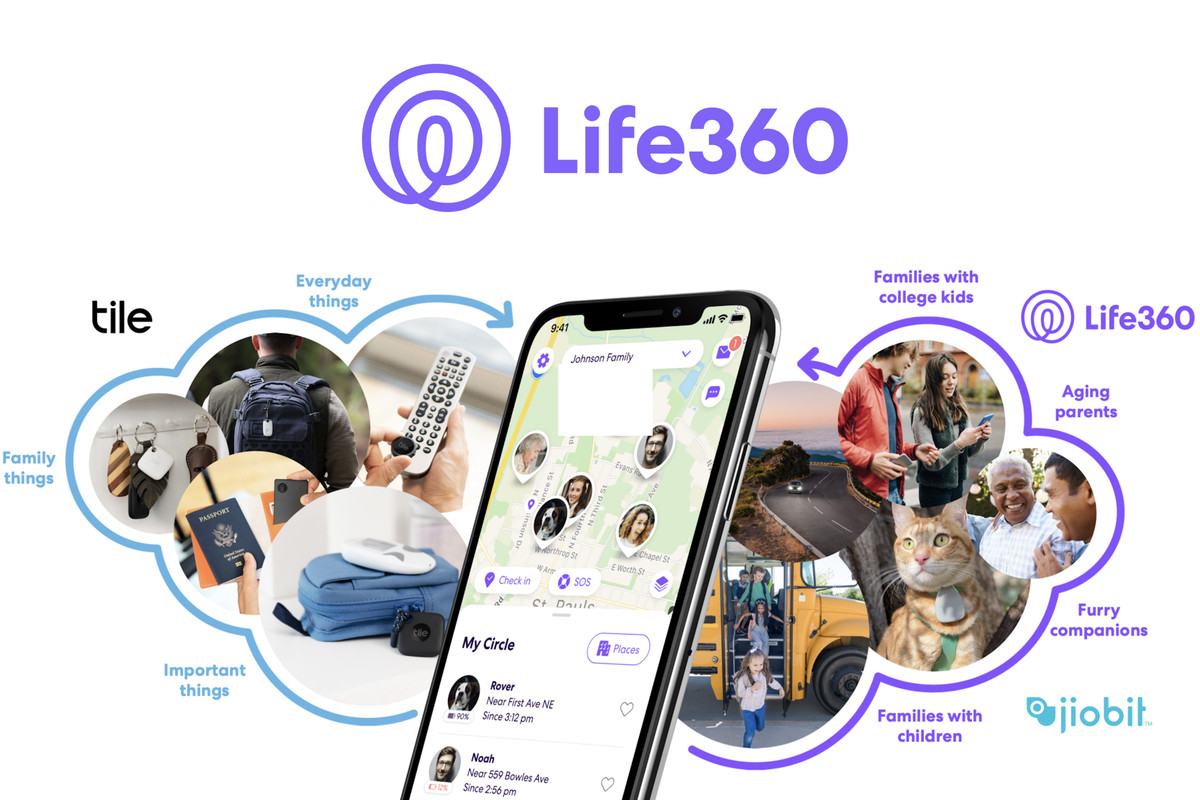
Location tracking apps like Life360 have become increasingly popular for families and friends who want to stay connected and ensure each other’s safety. However, there may be times when you want to keep your location in one place and maintain some privacy. In this article, we will explore various methods to achieve this while using Life360.
Before we dive into the methods, it’s essential to understand how Life360 works. Life360 is a GPS and location-tracking app that continuously monitors your movements and provides accurate data on where you are, when you move, and how fast you travel. It is designed to keep you connected with your circle and ensure their safety.
While the app is primarily focused on tracking and sharing location information, there are times when you may want to go off-grid and hide your whereabouts from others in your circle. Keep in mind that tampering with the app’s functionalities might limit its intended purpose and affect emergency services within the app.
Method 1: Disabling Wi-Fi and Cellular Data
One way to keep your location in one place on Life360 is by turning off your internet connection. By disabling Wi-Fi and cellular data, the app will usually show your last known location. However, it’s important to note that this method also limits other app functionalities that rely on an internet connection, such as notifications and messaging apps.
How to Turn Off Mobile Data in the Life360 App on iOS/iPhone
If you’re using an iOS device, you can specifically turn off cellular data for the Life360 app by following these steps:
- Access the “Settings” icon on your home screen or from the App Library.
- Scroll and choose “Cellular” in the app section.
- Tap on “Life360” to turn off cellular data for the app.
Unfortunately, Android users don’t have a direct option to turn off mobile data for specific apps like Life360. However, they can manually close the app or turn off the background running of mobile data to limit its tracking capabilities.
Method 2: Spoofing Your Location
Another way to keep your location in one place on Life360 is by spoofing your location. This method involves using a VPN (Virtual Private Network) or a fake location app to trick the app into displaying a different location.
To spoof your location, you can install a VPN app like ExpressVPN or a fake location app from the Google Play Store or Apple App Store. These apps allow you to set a fake location, which will be displayed on Life360. However, keep in mind that most of these apps come at a cost, and they may affect the functionalities of other apps on your phone.
Method 3: Using a Burner Phone
If you’re looking for a more straightforward solution, you can consider using a burner phone. This method involves having two phones, with one phone having the Life360 app installed and left in one place while you carry the other phone with you.
For example, if you have an iPad or iPod Touch, you can use that device as a burner phone. This way, you can keep your location in one place while having the freedom to move around with your primary phone.
Method 4: Disabling Background App Refresh
Life360 uses your smartphone’s GPS and motion tracking even when you’re not actively using the app. Disabling the background app refresh feature can help keep your location in one place.
How to Disable Life360 Background Refresh on iOS/iPhone
On an iOS device, you can disable background app refresh for Life360 by following these steps:
- Access “Settings” on your iPhone.
- Navigate to and select “Life360” from the app list.
- Toggle off “Background app refresh.”
Disabling background app refresh ensures that Life360 doesn’t update your location when Wi-Fi is turned off.
How to Disable Life360 Background Refresh on Android
On an Android device, you can disable background app refresh for Life360 by following these steps:
- Open “Settings” on your Android device.
- Select “Apps & notifications.”
- Tap on “See all apps” to view all installed apps.
- Find and select “Life360.”
- Choose “Mobile data & Wi-Fi.”
- Toggle off “Background data.”
While this method limits background tracking, it’s important to note that Life360 can still report your current location if the app is opened or running in the foreground.
Method 5: Disabling Location and Motion Tracking
If you want to keep your location in one place without completely disabling internet connectivity, you can try disabling the motion and location tracking within the Life360 app. This method ensures that your location remains static while still allowing other app functionalities.
To disable location and motion tracking, follow these steps within the Life360 app:
- Access the “Settings” menu.
- Look for options related to location and motion tracking.
- Toggle off these options to disable tracking.
By disabling these features, the app will display your last recorded location and remain in that place until the information is updated. Keep in mind that the specific names of these features may vary depending on your device’s operating system.
Method 6: Enabling Battery Saving Mode
Life360 consumes a significant amount of battery power to track and report your location and motion statistics. Enabling battery saving mode can help conserve battery life and limit the app’s tracking capabilities.
To enable battery saving mode for the Life360 app on an Android device, follow these steps:
- Open “Settings” on your Android device.
- Select “Apps & notifications.”
- Tap on “See all apps” to view all installed apps.
- Find and select “Life360.”
- Select “Advanced.”
- Choose “Battery.”
- Select “Battery optimization.”
- Locate and tap on “Life360.”
- Tap on “Optimize” followed by “Done.”
By optimizing battery usage for Life360, you can restrict the app’s functionalities and ensure that it doesn’t track your location excessively. Please note that the steps may vary slightly depending on your device’s manufacturer and Android version.
Method 7: Disabling Drive Detection and Location Sharing
Life360 offers additional features such as drive detection and location sharing. Disabling these features can help keep your location in one place and prevent the app from tracking your movement, speed, and location.
To disable drive detection, follow these steps within the Life360 app:
- Launch the app and access the “Settings” menu.
- Tap on “Drive Detection” option, usually located above the FAQs.
- Toggle off the drive detection feature.
Additionally, you can turn off location sharing within the app. If you belong to multiple circles, you may need to repeat this process for each circle.
Please note that disabling drive detection and location sharing may raise suspicion with other circle members and the circle administrator.
Method 8: Uninstalling the Life360 App
The most foolproof way to keep your location in one place on Life360 is by uninstalling the app. After uninstalling, the app will no longer track your location, and it will only display your last known location. However, keep in mind that reinstalling the app may be necessary to avoid raising any suspicions.
Conclusion
While Life360 is primarily designed to track and share location information, there are various methods to keep your location in one place. From disabling Wi-Fi and cellular data to using a burner phone or spoofing your location, you have options to maintain privacy while using the app. However, it’s important to use these methods responsibly and consider the implications they may have on emergency services within the app.
Remember, communication and consent are vital when it comes to location tracking apps like Life360. Make sure to discuss and establish boundaries with your circle members to ensure everyone’s comfort and privacy.
By following the methods outlined in this article, you can take control of your location information on Life360 and strike a balance between connectivity and privacy.
Experiencing difficulties with your Device, check out our “How To” page on how to resolve some of these issues.


