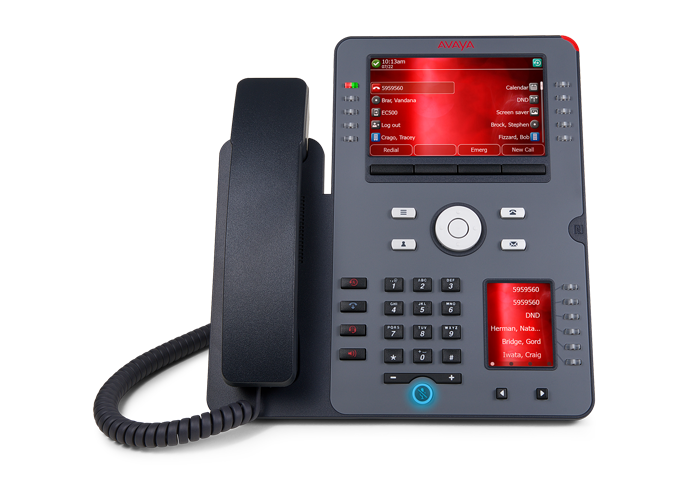
As a business owner or employee, you understand the importance of efficiently managing your phone system. The Avaya phone system is a popular choice for many businesses due to its user-friendly interface and extensive features. One crucial aspect of managing your Avaya phone system is ensuring that the time is accurately set. In this comprehensive guide, we will walk you through the step-by-step process of changing the time on your Avaya phone. Whether you have an Avaya phone model 1416, 1408, or any other Avaya phone in basic mode, these instructions will work for you. So, let’s get started!
Before You Begin
Before we dive into the process of changing the time on your Avaya phone, there are a few essential things to keep in mind:
- Your Avaya phone must be in basic mode to change the date and time.
- The date and time can only be changed from extension 10 or 11.
- If you are unsure about your phone’s capabilities or the mode it is in, it is recommended to reach out to your telecommunications provider or support staff for assistance.
Now that you are aware of these prerequisites, let’s proceed with the step-by-step instructions to change the time on your Avaya phone.
To begin the process, follow these steps:
- On your Avaya phone, locate the Admin button. It is usually present on extensions 10 and 11.
- Press the select button below the Admin button to access the System Administration menu.
Once you are in the System Administration menu, follow these steps:
- Scroll through the options using the arrow keys until you see the “System Parameters” option.
- Press the select button to enter the System Parameters menu.
Step 3: Change the Date
If you need to change the date along with the time, follow these steps:
- In the System Parameters menu, locate and select the “System Date” option.
- Enter the desired date using the numeric keypad.
- Once you have entered the date, press the select button to save the changes.
Step 4: Change the Time
To change the time on your Avaya phone, follow these steps:
- In the System Parameters menu, scroll down until you find the “System Time” option.
- Press the select button to enter the System Time menu.
- Enter the new time using the military time format. For example, if it is 1:15 pm, enter “13:15” on the numeric keypad.
- After entering the new time, press the select button to save the changes.
Step 5: Finalize the Changes
To complete the process and return to the home screen of your Avaya phone, follow these steps:
- Press the back button multiple times until you reach the main menu.
- Alternatively, you can pick up the receiver and hang it up to return to the home screen.
Congratulations! You have successfully changed the time on your Avaya phone. It’s always important to ensure that the time on your phone is accurate to maintain efficiency in your business operations. If you have any further questions or need assistance with your Avaya phone system, don’t hesitate to reach out to Rhode Island Telephone. They offer comprehensive support and a wide variety of phone system manuals to help you maximize the functionality of your Avaya phone.
Additional Tips and Troubleshooting
While changing the time on your Avaya phone is a straightforward process, there may be some additional tips and troubleshooting steps that can come in handy. Here are a few:
Ensure basic mode: Before attempting to change the time, verify that your Avaya phone is in basic mode. This mode allows you to access the necessary settings for modifying the date and time.
Consult your manual: If you have a specific Avaya phone model or need more detailed instructions, consult the user manual provided by Avaya. It contains comprehensive information on all the features and settings of your phone.
Contact support: If you encounter any difficulties or have specific questions about your Avaya phone system, don’t hesitate to reach out to your telecommunications provider or support staff. They can provide personalized assistance and guidance.
Conclusion
Accurate time management is essential for businesses of all sizes, and the Avaya phone system allows you to easily modify the date and time settings according to your needs. By following the step-by-step instructions provided in this guide, you can ensure that the time on your Avaya phone is always correct. Remember to consult your telecommunications provider or support staff if you require further assistance or have specific questions about your Avaya phone system. Stay efficient and productive with your Avaya phone!


